
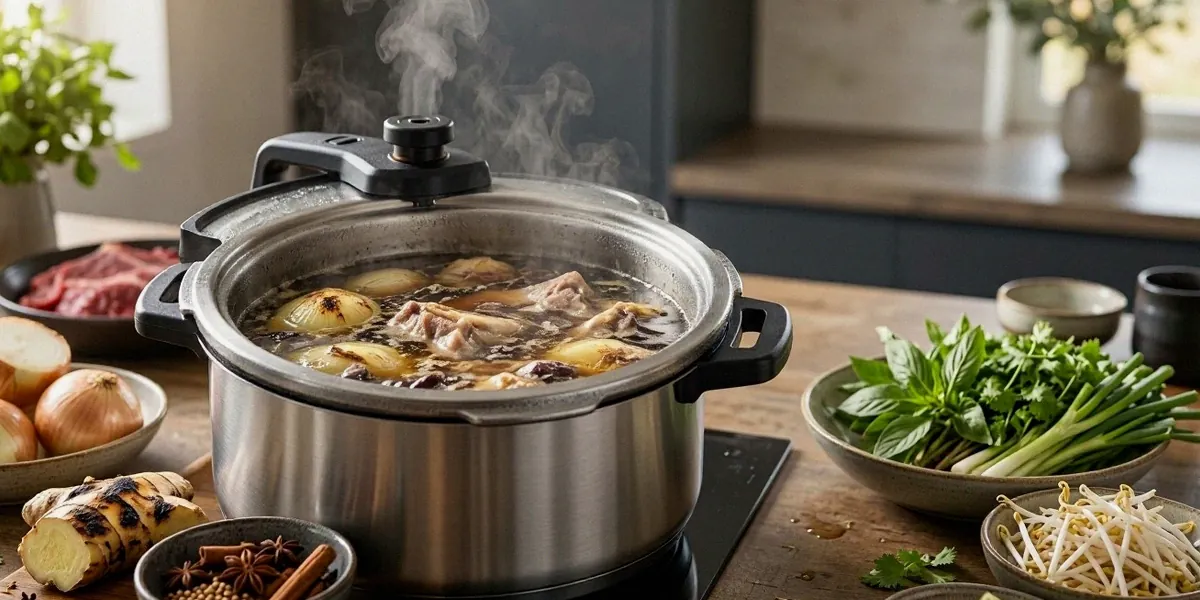
Pressure-Cooker Pho Broth: The Fast Track to Authentic Flavour
We’ve all been there — staring down a recipe that demands a twelve-hour stovetop simmer before you even get to assemble the bowl. Traditional pho broth rewards patience, but it also demands an entire day of your life. After years of nursing stockpots on lazy Sundays, our team started experimenting with a faster route, and the results genuinely surprised us. A pressure cooker can collapse that marathon simmer into under an hour while still pulling deep, aromatic complexity from roasted bones and toasted spices. This is how we make pho on a weeknight without sacrificing the soul of the bowl.
Why We Swear by the Pressure Cooker for Pho
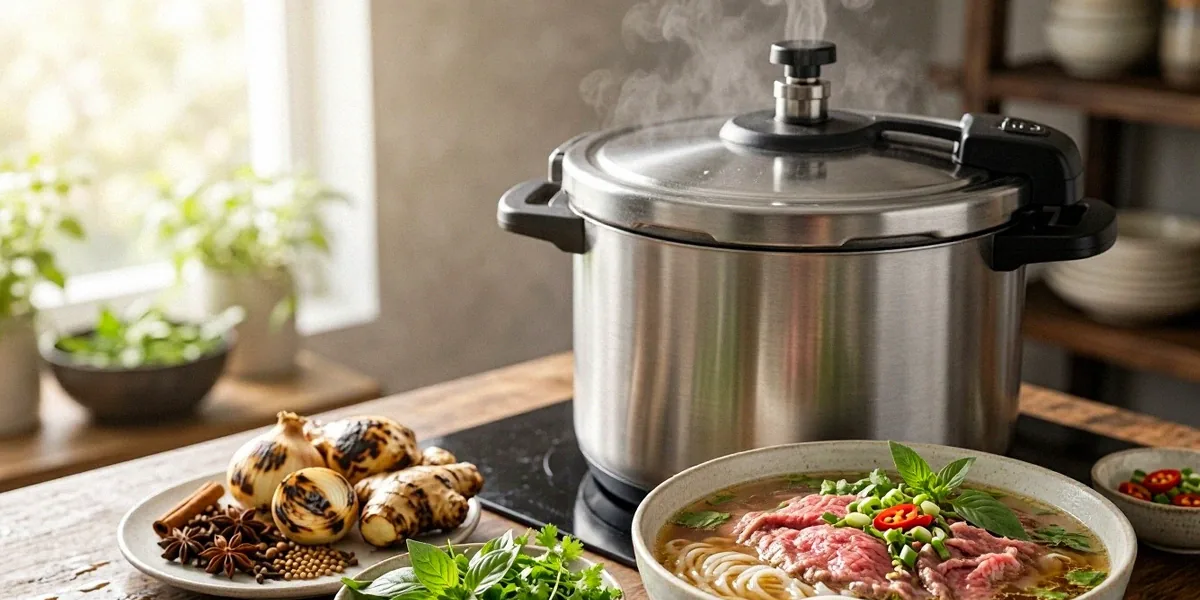
Pressure cooking works by trapping steam inside a sealed vessel, which raises the internal temperature well above the normal boiling point of water. That higher heat accelerates the breakdown of collagen in beef bones into gelatin, and it drives flavour compounds out of aromatics and spices far more aggressively than a gentle open simmer. The result is a broth that tastes like it’s been working away all day, even when it hasn’t.
We tested this method side by side with our old stovetop approach and found it delivers roughly 90% of the flavour in about 20% of the time. For anyone juggling work, kids, and a genuine craving for Vietnamese food, that trade-off is impossible to ignore.
The Time-Saving Advantage for Busy Australians
Between commutes, footy season, and the cost of eating out, most of us don’t have a spare afternoon to babysit a stockpot. A pressure cooker gets the broth done in about 90 minutes from start to finish, including prep and natural release. That means you can char aromatics after work and still sit down to a steaming bowl of noodle soup before 8pm.
Flavour Extraction: Pressure vs. Traditional Simmer
The key difference is intensity. A traditional simmer slowly coaxes flavour out over many hours, while pressure forces it out quickly. Marrow dissolves faster, spice oils infuse more completely, and the broth takes on a rounded, beefy depth that surprises most people who assume “fast” means “thin.” We’ve served our pressure-cooker version to friends raised on their grandmother’s pho, and the feedback has been overwhelmingly positive.
Essential Ingredients for a Killer Pressure-Cooker Pho Broth
Great broth starts with great raw materials. Here’s what we keep on hand, and where we source it here in Australia.
- Beef bones — leg bones, knuckle, and marrow bones for richness
- Yellow onion and fresh ginger, charred until blackened at the edges
- Whole spices — star anise, cinnamon bark, cloves, coriander seeds
- Fish sauce — we recommend Red Boat or Squid brand
- Rock sugar (yellow rock sugar if you can find it)
- Sea salt
The Bones: What to Ask Your Butcher For
Australian beef bones from local butchers yield a rich, flavoursome broth, and we always ask for a mix of marrow, knuckle, and leg bones. Marrow gives body, knuckle adds gelatin, and leg bones bring clean beef flavour. In Melbourne, we source from stalls around Queen Victoria Market; in Sydney, Paddy’s Markets is our go-to for both bones and fresh herbs. Ask your butcher to cut the bones into manageable lengths so they fit your cooker.
Aromatics and Spices: The Soul of the Broth
Charring onion and ginger over an open flame (or under a hot grill) creates smoky, sweet notes that define authentic pho. Toast your star anise, cinnamon, cloves, and coriander seeds in a dry pan until fragrant — this wakes up their oils. Skip this step and the broth tastes flat, no matter how long you cook it.
Seasonings: Fish Sauce, Rock Sugar, and Salt
Red Boat and Squid brand fish sauce are widely available in Australian Asian grocers, and both bring a clean, deep umami. Rock sugar rounds out the saltiness without the cloying sweetness of white sugar. We season in stages — a little at the start, then more after straining — so we can taste and adjust.
Step-by-Step: Making Pressure-Cooker Pho Broth
Here’s the exact process we follow. It works in an Instant Pot or a Breville Fast Slow Pro, both popular pressure cooker brands in Australia.
- Parboil the bones in boiling water for 10 minutes, then drain and rinse.
- Char onion and ginger directly over a gas flame or under a grill.
- Toast whole spices in a dry pan until fragrant.
- Add bones, aromatics, spices, and water to the pressure cooker.
- Cook on high pressure for 45–60 minutes.
- Allow natural release for 20 minutes.
- Strain, then season with fish sauce, rock sugar, and salt.
Prepping the Bones and Aromatics
Parboiling removes impurities that would otherwise cloud the broth, and charring the onion and ginger takes just a few minutes but transforms the final flavour. We do both steps while the kettle heats — it’s efficient and makes the rest of the process hands-off.
Pressure Cooking Times and Settings
Set your Instant Pot or Breville Fast Slow Pro to high pressure and cook for 45 minutes for a lighter broth, or up to 60 minutes for a deeper, more gelatinous result. Fill only to the maximum line — overfilling risks clogging the valve.
Straining and Seasoning the Broth
Once the pressure has released naturally, strain the broth through a fine-mesh sieve lined with muslin. Discard the solids. Now season gradually: start with fish sauce, add rock sugar, then salt. Taste after each addition — the broth should be savoury, slightly sweet, and aromatic.
Common Mistakes and How We Avoid Them
We’ve made all of these mistakes so you don’t have to. Here’s what to watch for.
Why Parboiling Matters
Skipping parboiling leaves proteins and impurities in the water, which turn into grey scum and a cloudy broth. Ten minutes of parboiling gives you a clear, clean-tasting result every time.
Balancing Spices and Seasonings
Over-spicing is the most common error — too much star anise turns the broth medicinal. We use restraint with whole spices and taste as we go. Under-seasoning is equally risky; a broth that tastes watery usually just needs more fish sauce and salt.
Natural Release vs. Quick Release
Quick release causes the broth to boil violently, which foams up and can push liquid through the valve. Always use natural release for at least 20 minutes. It’s slower but produces a cleaner, more stable broth.
Serving Suggestions and Variations
Once your broth is ready, the bowl comes together fast. Cook rice noodles according to the packet, slice beef thinly, and prep your herbs.
Classic Pho Toppings and Accompaniments
- Rare steak, brisket, or meatballs
- Thai basil, coriander, and spring onion
- Bean sprouts, sliced chilli, and lime wedges
- Hoisin and sriracha on the side
For drinks, we love pairing pho with an Australian craft beer — a crisp lager or pale ale works beautifully — or a strong Vietnamese iced coffee to finish.
Bun Bo Hue: A Spicy Twist for Pressure Cooker
Bun bo Hue is a spicy Vietnamese noodle soup that can be adapted for pressure cooking. It uses beef shank and pork hock, lemongrass, chilli oil, and shrimp paste for a bold, fiery broth. Follow the same pressure-cooking method, then finish with the chilli-lemongrass oil for that signature heat.
FAQ
Can I use chicken bones instead of beef in a pressure cooker?
Yes, but reduce the cooking time to about 25–30 minutes on high pressure. Chicken bones release flavour faster and can turn bitter if overcooked.
How long does pressure-cooker pho broth keep in the fridge?
Stored in an airtight container, it keeps for up to 5 days in the fridge and up to 3 months in the freezer. Skim any fat before reheating.
Do I really need rock sugar, or can I use white sugar?
Rock sugar dissolves more slowly and gives a rounder sweetness. White sugar works in a pinch, but use less — it’s sweeter and can throw off the balance.
Is it safe to fill the pressure cooker to the top with bones and water?
Never fill past the maximum fill line. Bones and liquid expand during cooking, and overfilling can block the pressure valve.
With a pressure cooker, authentic pho at home no longer requires an all-day simmer. We’ve shown you the bones, aromatics, timing, and techniques that get you 90% of the way there in a fraction of the time. From here, the fun part is experimenting — tweak your spice blend, try a bun bo Hue variation, and make the bowl your own.